Connector Quick Start
Start Connector
Unpack the distribution and run the start script located in the installation bin directory.
LINUX
./connector
WINDOWS
./connector.bat
Login to Connector
Once the Connector has started, navigate to the Admin UI and login with the default username and password, admin/admin:
Upload License
-
Contact Raytion and obtain a license for your connector
-
Login to the Admin UI
-
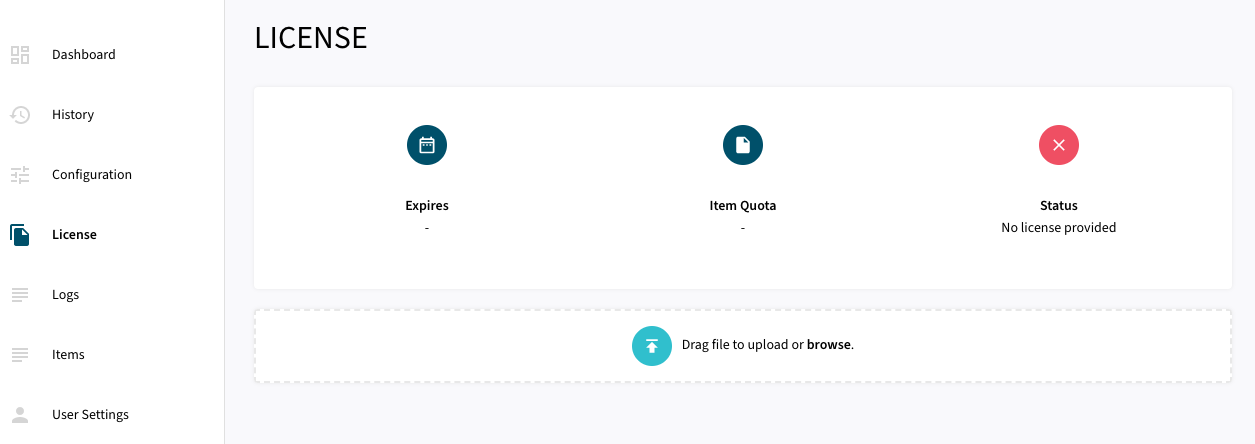
Select License in the menu:
-
Upload the license file by browsing for the file or simply dragging a dropping the license onto the license page
-
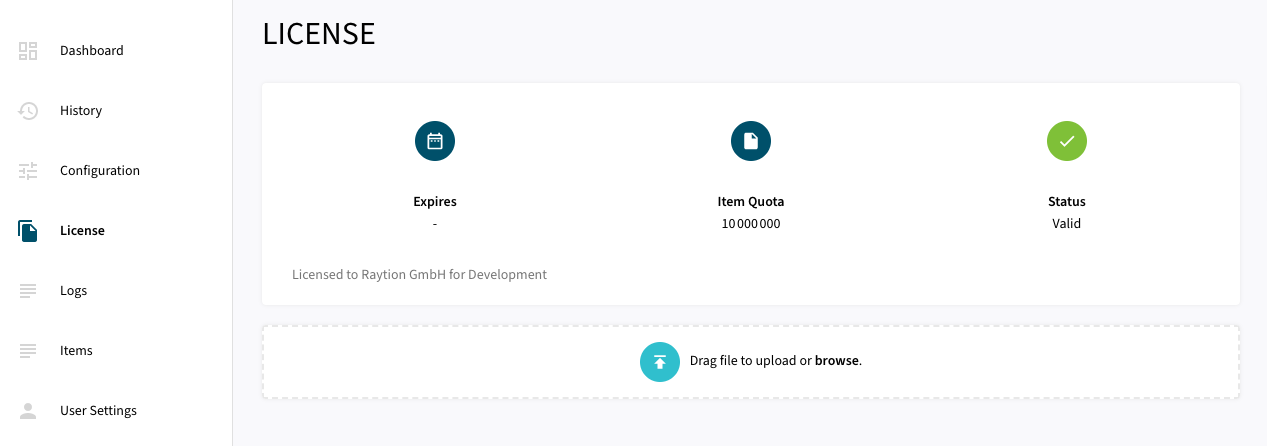
The Status of the license will be displayed as valid, and the expiration and item quota will also be displayed:
Synchronizing Content Information
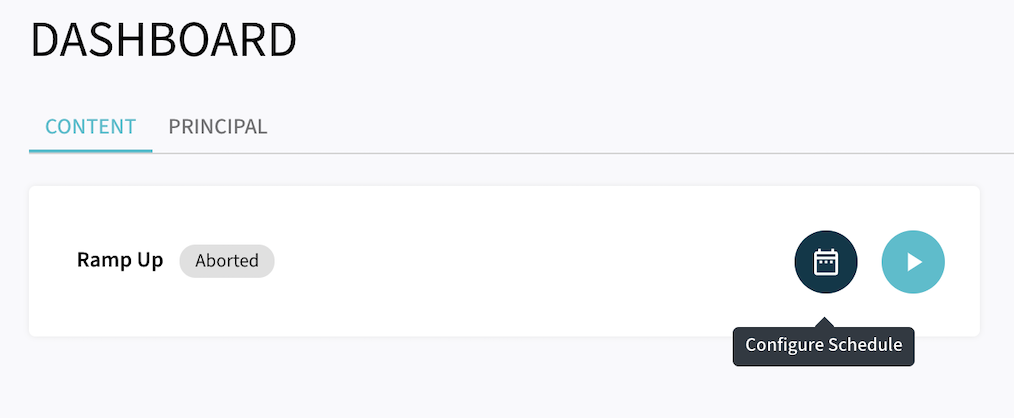
Once, the connector is configured and license uploaded, you can start synchronize content information using the traversal feature in the dashboard.
Content Traversal
In order to synchronize items from source system, the Connector provides different types of execution:
-
Ramp-Up: All items from source system are processed to the search engine. This includes also previously synchronized unchanged items. Note, that Ramp-Up will not delete deprecated items.
-
Incremental: All items are from source system are compared against the state in the connector from previous synchronization runs. Only changed items (this includes newly added, modified and moved items) will be processed to Microsoft Azure Cognitive Search. This type can be used to reduce the load on the search engine. Incremental Runs will also synchronize delete information by deleting all removed items from the search engine index.

Principal Synchronization
Principal Synchronization processes Principal Information from Source System into Search Engine. The connector applies early binding of Access Control List for our content items. Hence, the items processed by Content Synchronization is protected by Access Control reflecting the equivalent Security Policy defined in the Source System. Security Information required by Search Engine to resolve the early bound items during search will be provided by Principal Synchronization. In case of Principal Synchronization, there is only a single execution type:
-
Ramp-Up: All principal information from source system is processed to Microsoft Azure Cognitive Search. This includes also information about deleted principal (deleted groups or deleted group membership relation).

